1. Understanding Your YEX382V3YTE Air Conditioner
Before diving into repairs, it’s essential to familiarize yourself with the key components of the YEX382V3YTE air conditioner:
- Compressor: The heart of the air conditioning system, responsible for circulating refrigerant.
- Condenser: Releases heat from the refrigerant and helps cool the air.
- Evaporator Coil: Absorbs heat and humidity from the indoor air.
- Thermostat: Controls the temperature settings and overall function.
- Filters: Capture dust and debris to ensure clean airflow.
2. Common Issues and Symptoms
Recognizing the symptoms of a malfunction can lead to quicker repair yex382v3yte air conditioner. Here are some common issues that may arise:
- Unit Not Cooling: If the air conditioner runs but doesn’t cool, this could indicate refrigerant issues or a problem with the compressor.
- Strange Noises: Unusual sounds, such as grinding or rattling, may suggest loose parts or worn-out components.
- Water Leaks: Puddles around the unit may indicate a clogged drain line or issues with the evaporator coil.
- Increased Energy Bills: If your bills rise unexpectedly, the unit may be working harder due to inefficiencies.
- Frequent Cycling: If the air conditioner turns on and off frequently, it may indicate thermostat issues or an overloaded system.
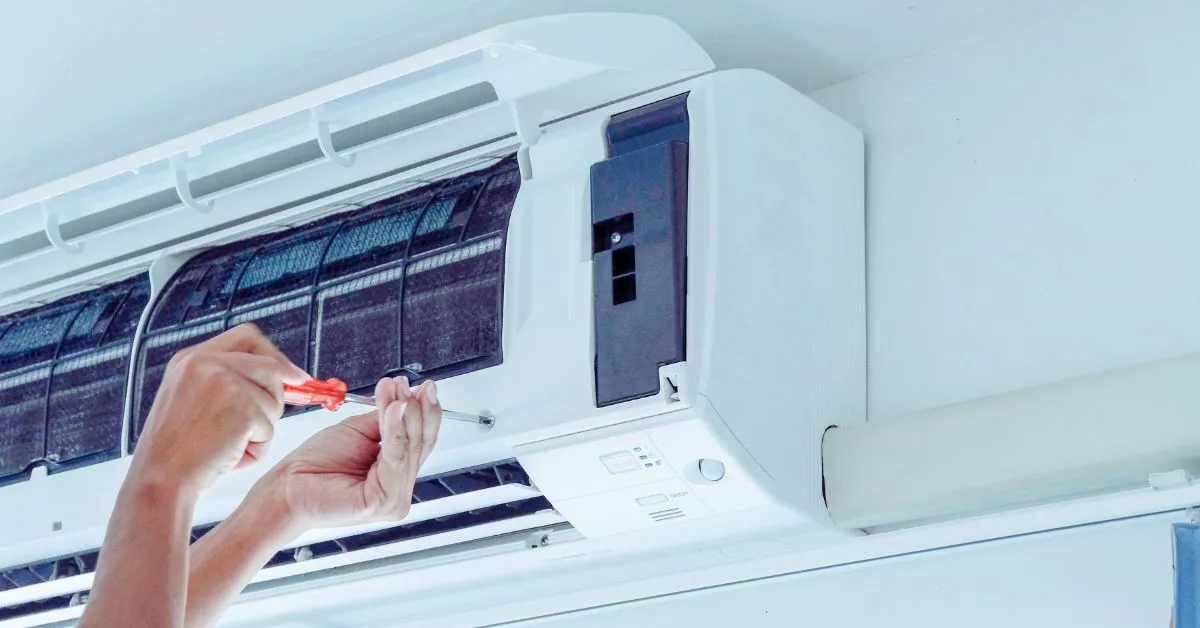
3. Safety First
Before performing any repairsyex382v3yte air conditioner, prioritize safety:
- Turn Off Power: Ensure the unit is completely powered off at the circuit breaker.
- Wear Protective Gear: Use gloves and goggles to protect against sharp edges and debris.
- Follow Manufacturer Instructions: Always consult the user manual for specific guidelines related to your model.
4. Basic Troubleshooting Steps
Step 1: Check the Thermostat
- Calibration: Ensure the thermostat is set to a lower temperature than the current room temperature. If it’s digital, check the batteries.
- Location: Make sure it’s installed away from direct sunlight or drafts, as this can affect readings.
Step 2: Inspect the Air Filter
- Clogged Filters: Dirty filters can restrict airflow. Remove and clean or replace the filter as necessary. Ideally, filters should be checked every month.
Step 3: Examine the Outdoor Unit
- Debris and Obstructions: Ensure the outdoor unit is clear of leaves, dirt, or any obstructions that could hinder airflow.
- Coils: Clean the condenser coils with a soft brush and water to remove any buildup.
5. Common Repairs
5.1. Refrigerant Issues
If your unit isn’t cooling properly, check the refrigerant levels.
- Diagnosis: Use a pressure gauge to determine if the refrigerant is low.
- Recharge: If levels are low, consider recharging the unit with the appropriate refrigerant. It’s advisable to hire a professional for this step, as handling refrigerants requires special certification.
5.2. Compressor Problems
A malfunctioning compressor can significantly affect cooling.
- Signs of Failure: If the compressor is making loud noises or isn’t running, it may be faulty.
- Testing: Check the electrical connections and capacitor. If you suspect a failure, it’s often best to consult a technician, as compressor replacement can be complex.
5.3. Condensate Drain Issues
Water pooling around the unit often points to drainage problems.
- Clearing Clogs: Use a wet/dry vacuum to clear the drain line. You can also pour a mixture of vinegar and water down the line to help dissolve buildup.
- Inspect the Pan: Check the condensate pan for cracks or damage and replace it if necessary.
5.4. Electrical Components
Issues with electrical components can lead to unit malfunctions.
- Fuses and Circuit Breakers: Check for blown fuses or tripped breakers. Replace or reset as needed.
- Wiring Inspection: Look for frayed wires or loose connections. Repair or replace any damaged wiring.
6. When to Call a Professional
While many repairs can be handled DIY, some issues require professional expertise:
- Refrigerant Leaks: Professionals have the tools and certifications to handle refrigerants safely.
- Compressor Replacement: This is a complex repair yex382v3yte air conditioner that requires specialized knowledge.
- Electrical Problems: Any issue involving wiring or circuit boards should be managed by a trained technician.
7. Maintenance Tips for Longevity
Preventative maintenance can extend the life of your YEX382V3YTE air conditioner:
- Regular Cleaning: Clean or replace filters monthly and ensure the outdoor unit is debris-free.
- Seasonal Checks: Before the cooling season begins, inspect the unit and perform any necessary maintenance.
- Professional Servicing: Schedule a yearly inspection with a qualified technician to catch any issues early.
8. Conclusion
Repairing the YEX382V3YTE air conditioner can be straightforward with the right knowledge and tools. By following this guide, homeowners can troubleshoot common problems, perform basic repairs, and maintain their units for optimal performance. However, always remember that safety comes first, and when in doubt, it’s best to call in a professional. With proper care and timely repairs, your air conditioner can continue to provide comfort for years to come.